English
 русский
 Indonesia
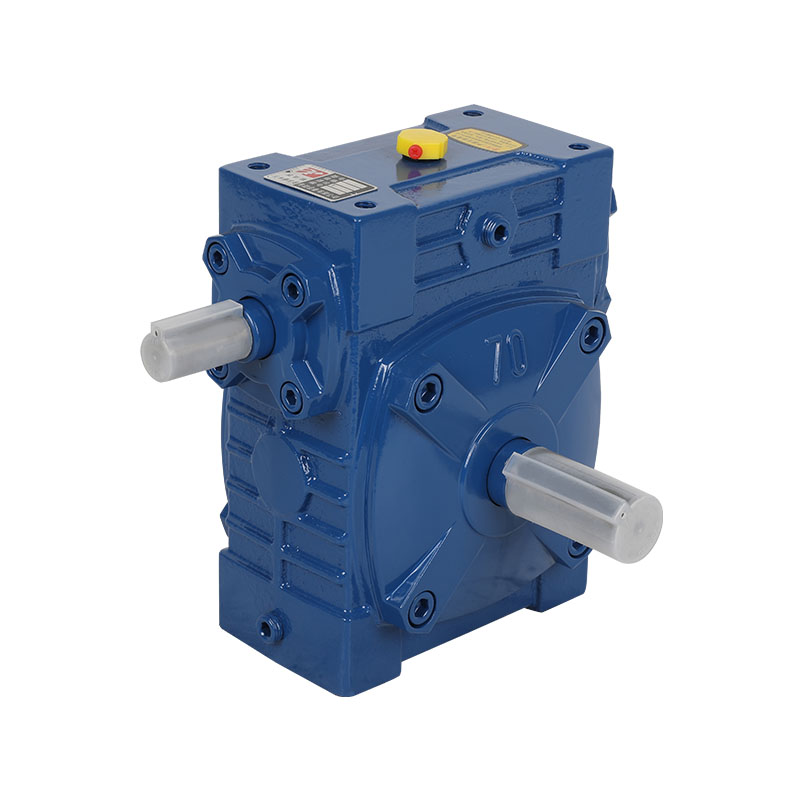
Installing a WP Worm Gear Reducer correctly is crucial to ensuring optimal performance, long service life, and operational safety. Improper installation can lead to abnormal noise, overheating, premature wear, or even complete failure of the reducer. This guide outlines the key factors you should pay attention to when installing a WP Worm Gear Reducer, whether in an industrial machine, automation system, or other mechanical applications.
1. Check the Product Before Installation
Before installation begins, carefully inspect the WP reducer:
Verify model and specifications: Confirm that the reducer model, gear ratio, and input/output specifications match your design requirements.
Inspect for damage: Look for visible damage from transportation or handling. Check the shaft, housing, and mounting surfaces.
Turn by hand: Rotate the input shaft manually to ensure it turns smoothly without resistance or noise.
If any issues are found, do not proceed until they are resolved.
2. Prepare the Installation Environment
Proper working conditions are essential for both the installation process and the long-term operation of the reducer:
Clean surroundings: Ensure the installation area is clean, dry, and free of dust, oil, or foreign objects.
Stable foundation: Mount the reducer on a solid, vibration-free surface to avoid misalignment or shifting during operation.
Proper tools and equipment: Use suitable wrenches, alignment tools, lifting equipment, and torque measuring devices.
Avoid using hammers or hard tools that can damage the housing or shaft.
3. Alignment is Critical
One of the most important installation requirements is precise alignment between the WP reducer and the connected motor or driven equipment:
Shaft alignment: Ensure both horizontal and vertical alignment of input and output shafts to minimize radial and axial loads.
Coupling alignment: Use flexible couplings or lovejoy couplings when necessary. Avoid rigid couplings unless exact alignment is guaranteed.
Mounting flatness: Ensure the base plate or mounting flange is level and flat to prevent housing deformation.
Poor alignment is a leading cause of premature wear, noise, and vibration in worm gear reducers.
4. Secure Mounting and Fastening
A loose or unstable installation can create numerous issues. Pay attention to the following:
Mounting bolts: Use high-strength bolts and fasten them evenly in a crisscross pattern to ensure uniform pressure.
Torque tightening: Apply correct torque values as recommended in the product manual. Over-tightening can crack the housing; under-tightening can loosen the reducer.
Vibration isolation: In some cases, consider rubber pads or vibration isolators to reduce shock and prolong life.
5. Lubrication and Oil Filling
Lubrication is a critical factor for the performance and lifespan of a worm gear reducer:
Check oil level: Before running the reducer, fill with the correct grade and quantity of lubricant as specified by the manufacturer.
Proper oil type: Use worm gear-specific oils (e.g., synthetic or mineral oils with EP additives). Avoid using inappropriate oils that may damage the bronze gear.
Drain and refill if necessary: If the reducer has been in storage for a long time, replace old or contaminated oil.
Some WP reducers are shipped without oil, so always check before first use.
6. Consider Installation Orientation
WP worm gear reducers can typically be installed in various orientations (horizontal, vertical, wall-mounted). However, orientation affects:
Lubrication distribution: Make sure the internal gear surfaces are adequately submerged in oil.
Breather plug location: Always move the breather to the highest point to ensure proper ventilation and pressure balance.
Oil filling and draining: Adjust plug positions accordingly for easy maintenance.
Consult the product manual to verify if your desired mounting position is allowed.
7. Check Coupling and Load Conditions
Before starting the machine:
No excessive load: Avoid applying sudden or extreme loads during initial startup.
Avoid misaligned connections: The reducer shaft should not be forced into position. Use proper fixtures or couplings to avoid side load.
Test run: Run the system at no-load or low-load conditions first. Observe for abnormal noise, vibration, or overheating.
8. Electrical Motor Matching
If connecting to a motor:
Match input shaft size: Ensure motor shaft fits securely into the reducer’s input hole or flange.
Use motor keyways correctly: Align and lock keyways properly to prevent slippage.
Balance input power: Ensure the motor’s power and speed match the reducer’s input rating. Overpowering may cause gear wear or damage.
9. Temperature and Ventilation
During installation:
Allow space for ventilation: Do not install the reducer too close to walls or heat sources.
Avoid overheating: High ambient temperatures may require cooling measures like fans or heat sinks.
Monitor temperature: During initial operation, monitor the housing temperature. Excessive heat can indicate poor lubrication or misalignment.
10. Documentation and Maintenance Plan
After installation:
Record installation details: Note the installation date, oil type, and model number for future reference.
Create a maintenance schedule: Plan periodic inspections for oil level, alignment, noise, and overall performance.
Proper installation is the foundation of a reliable reducer system—don’t skip documentation and planning.
Installing a WP Worm Gear Reducer involves more than simply bolting it in place. From checking alignment and lubrication to selecting the right orientation and ensuring proper motor coupling, each step plays a vital role in ensuring efficient and long-term operation. By paying close attention to the points above, you can avoid common issues and get the best performance from your WP reducer.
If you're unsure about any step, always refer to the manufacturer's manual or consult a professional technician.